RDNS Servers
To add a new RDNS server, please proceed as follow:
- Click on "IP Manager" -> "RDNS Servers" at the sidebar.
- Click on the plus sign icon (right corner at the bottom).
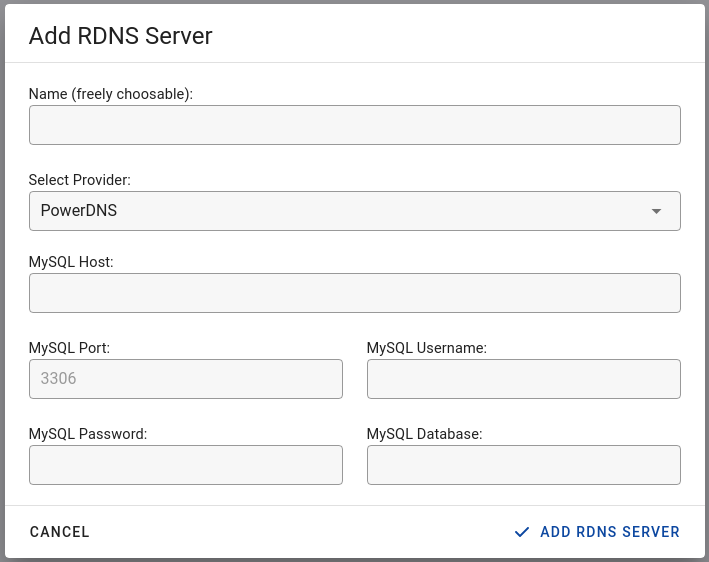
A dialog will open, where you can insert the access details to the RDNS Server.
Supported RDNS Providers
This list refers only to self-managed RDNS servers. External providers (e.g. OVH) typically do not require additional configuration.
- PowerDNS
- Custom RDNS Servers
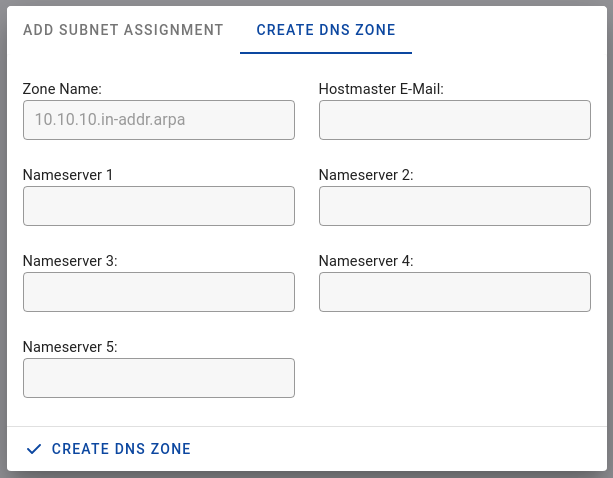
Create DNS Zone
After you have added the RDNS server, you can create a DNS zone for each subnet:
- Click on the list symbol.
- Select "Create DNS Zone" in the dialog.
- Fill out the form and save the input.
IPv4 configuration
You need to create a zone for each /24 IPv4 subnet. So if you have the subnet 10.10.8.0/22, the following zones must be created:
- 10.10.8.in-addr.arpa
- 10.10.9.in-addr.arpa
- 10.10.10.in-addr.arpa
- 10.10.11.in-addr.arpa
IPv6 configuration
It is recommended to create a separate zone for each /32 subnet in IPv6. It is not necessary, and not recommended, to create a zone for each /64 subnet, as the /32 zone can be assigned to all subnets that fall within the prefix. When a larger IPv6 prefix zone exists, Tenantos will automatically detect it and use that zone.
For example, for the subnet fd12:3456:7890::/32 the zone would be: 0.9.8.7.6.5.4.3.2.1.d.f.ip6.arpa
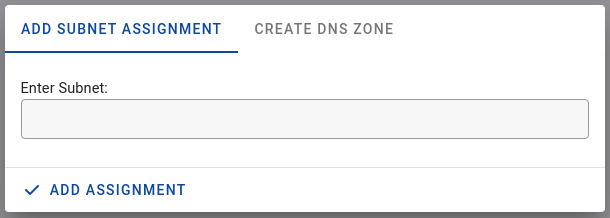
Assign subnet to RDNS server
After you have created the DNS zones, select "Add Subnet Assignment" in the dialog and enter your subnets. As example:
- 10.10.8.0
- 10.10.9.0
- 10.10.10.0
- 10.10.11.0
You can also assign the subnet to an RDNS server on the subnet configuration page.
If you have added IPv6 subnets and divided them into smaller subnets (childs), you can assign the RDNS server for all children with just one click on the subnet detail page.
Screenshots